You may have invested heavily in your renovation, only to find that the finished tile work still feels slightly “off.” The truth is, tile installation is one of the most detail-sensitive stages in interior finishing. It may look simple, but it hides many technical pitfalls. Even a small oversight can affect both the visual harmony and long-term durability of your space.
Great tiling is never accidental—it’s the result of thoughtful planning, precise workmanship, and the right materials. Here are six essential tile-installation details every homeowner should understand to ensure a result that looks refined and performs beautifully for years.
1. Plan Before You Lay — Layout Comes First
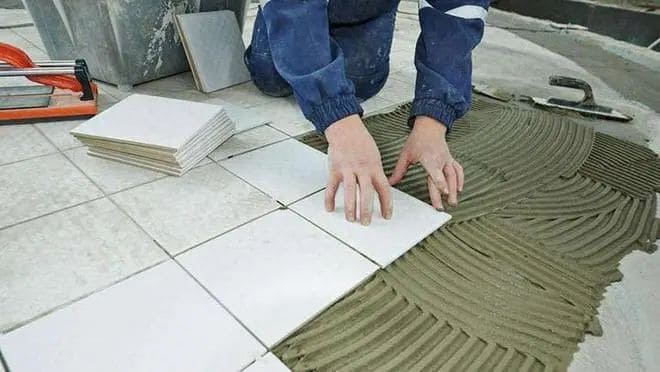
Tile installation should never begin with adhesive. Proper layout planning is the foundation of professional tiling. Whether you’re aiming for symmetrical joints, centered patterns, or continuous veining in large-format tiles, a dry layout rehearsal allows installers to visualize alignment and adjust spacing before permanent fixing.
For irregular or custom-cut tiles, on-site mock-ups are especially important to confirm measurements and avoid awkward cuts later.
Practical tip: During layout planning, material choice matters just as much as positioning. A high-quality tile adhesive improves bonding strength and helps prevent hollow spots, ensuring tiles remain firmly attached over time.
2. External Corners Matter — Choose Bullnose or Mitered Edges
External tile corners are small areas that carry big visual impact. While plastic trim pieces are quick and convenient, they often signal budget installation. For a more refined, architectural finish, bullnose edges or 45-degree mitered corners create clean, seamless transitions.
These methods demand higher skill and precision, but the result is noticeably more elegant and durable.
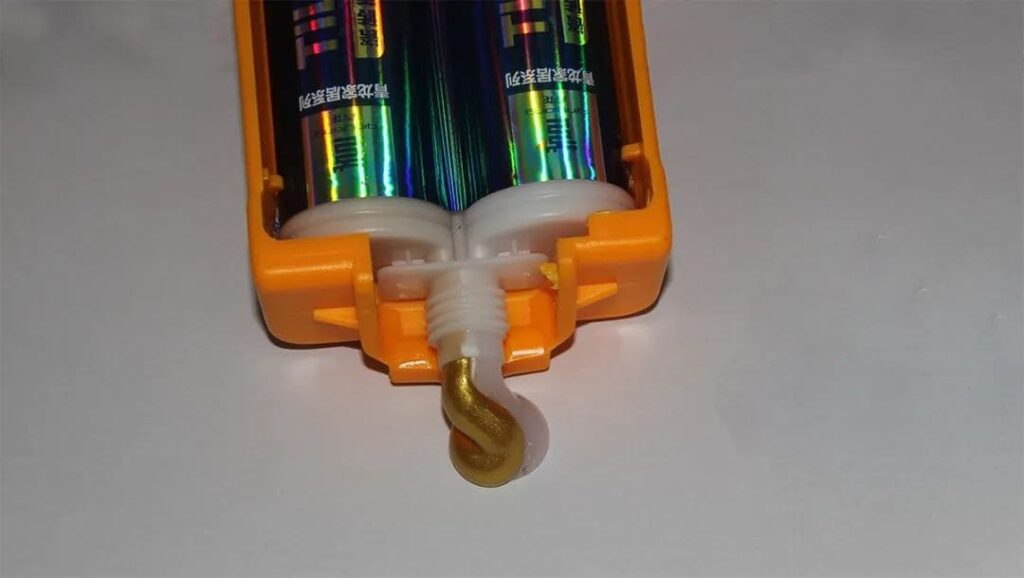
Practical tip: Premium adhesives with strong initial grab and smooth workability make precise edge alignment easier and help maintain sharp, consistent corner lines.
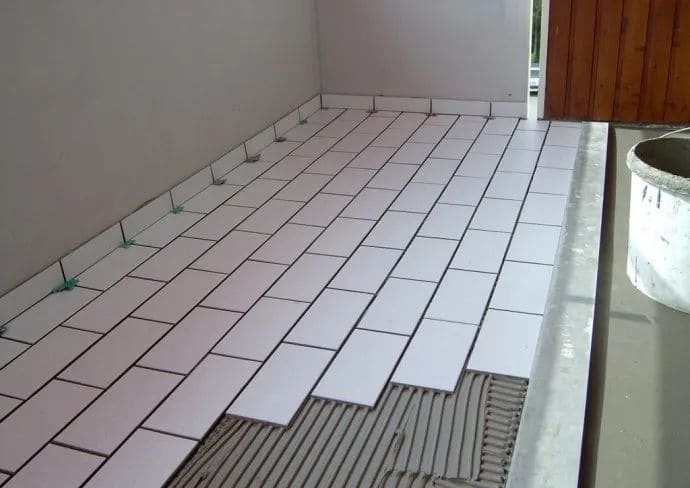
3. Align Wall and Floor Joints — A Hallmark of Quality
When wall and floor tile joints fail to align, the eye immediately senses disorder. This is particularly noticeable with modern large-format tiles, where continuous grout lines visually expand space and reinforce structure.
Achieving alignment requires careful measurement, sequencing, and stable adhesion—especially on vertical surfaces.
Practical tip: Using a reliable, multi-purpose tile adhesive designed for both wall and floor applications reduces slippage and detachment risk, helping maintain joint continuity throughout the space.
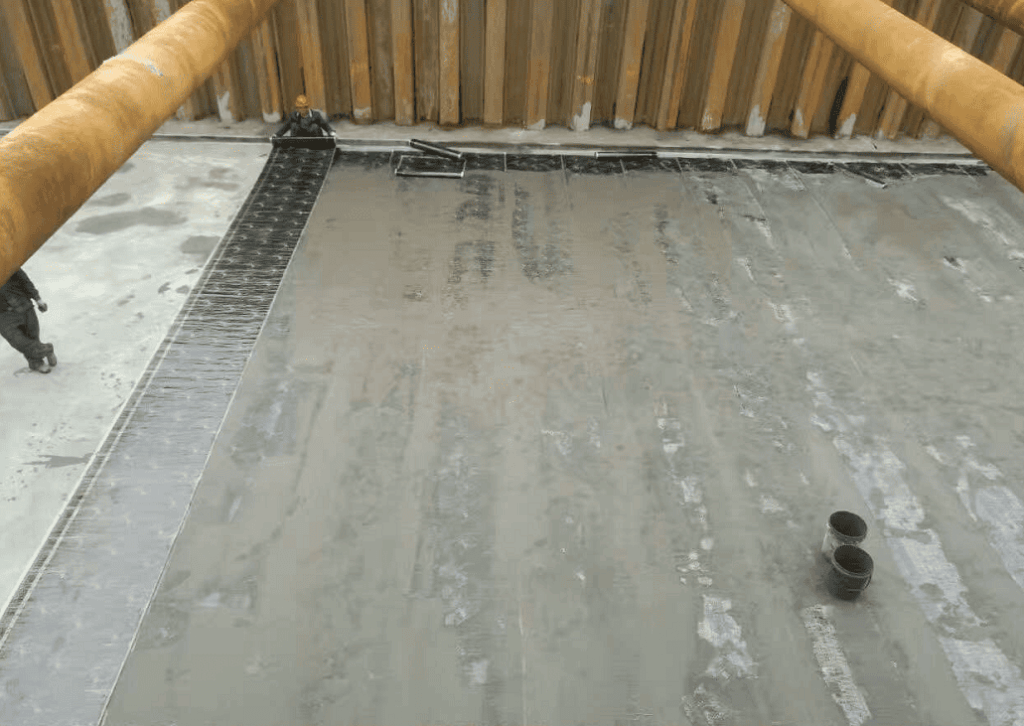
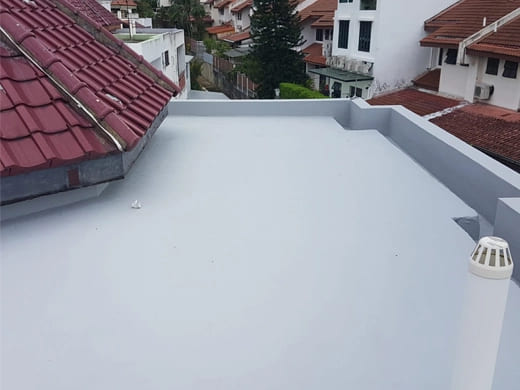
4. Drainage Design Over Appearance — Performance Comes First
Bathroom floor tiling is not only decorative—it directly affects drainage efficiency. Today’s best practice uses a four-slope “square envelope” layout that guides water toward the floor drain from all directions. This prevents standing water, reduces slip risk, and simplifies cleaning.
Poor slope planning is one of the most common causes of bathroom dissatisfaction after renovation.
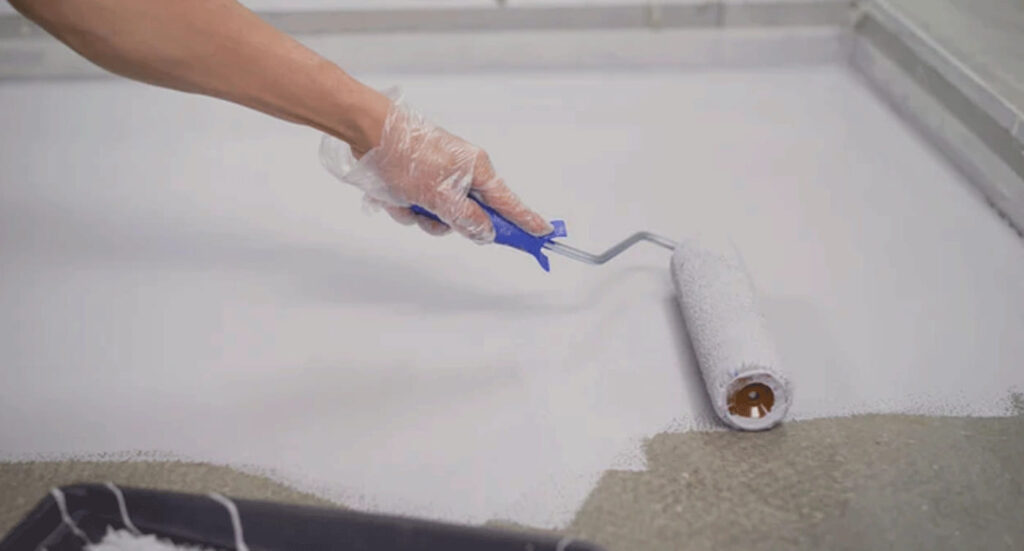
Practical tip: Pair precise tiling slopes with compatible waterproofing beneath the tile layer. This dual protection ensures moisture is controlled both above and below the surface.

5. Mark Utility Lines After Tiling
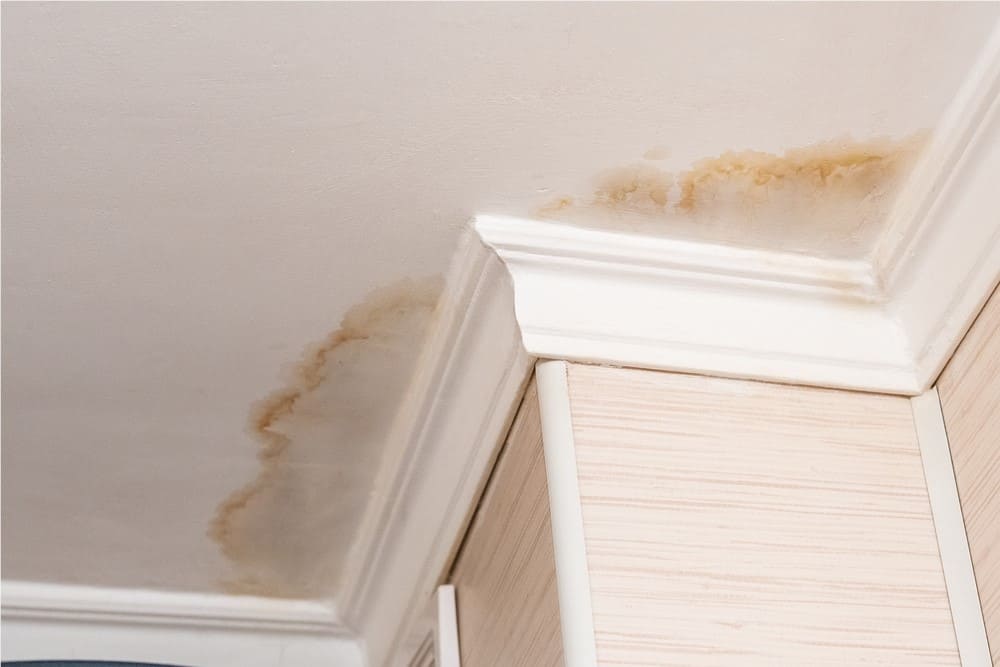
Many homeowners discover concealed pipe or cable locations only after renovation—often when drilling into tiled walls to install accessories. Accidental punctures can cause leaks, electrical hazards, and costly repairs.
Practical tip: After tiling is complete, clearly document or mark all concealed water and electrical routes. This simple step protects both the installation and future modifications.
6. Position Cut Tiles Strategically
Tile cutting is unavoidable, but where cuts appear determines whether a room feels polished or amateur. Highly visible zones—such as entrances, focal walls, and open sightlines—should always feature full tiles whenever possible.
Cut or half tiles should be placed in concealed or low-attention areas, such as behind furniture or fixtures.
Practical tip: High-quality grout enhances overall visual continuity. Consistent color, smooth joints, and stain resistance help maintain a seamless appearance even where cuts exist.
Conclusion
There are no “small” details in a renovation. Tilework is where design, craftsmanship, and material performance converge. When these six details are handled correctly, the result is not only visually balanced but also durable, safe, and easy to maintain.
A successful renovation doesn’t rely on luck—it follows a simple formula:
Quality materials + Skilled workmanship + Careful detailing = Lasting satisfaction
By understanding what truly matters in tile installation, homeowners can make better decisions, communicate more effectively with contractors, and achieve finishes that look right—and stay right—for years to come.