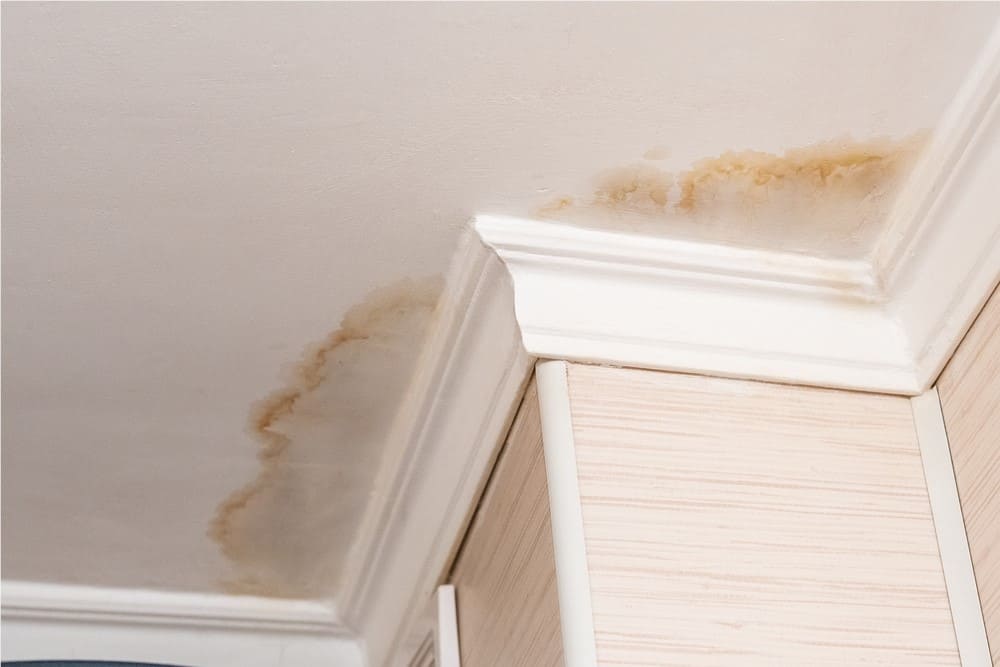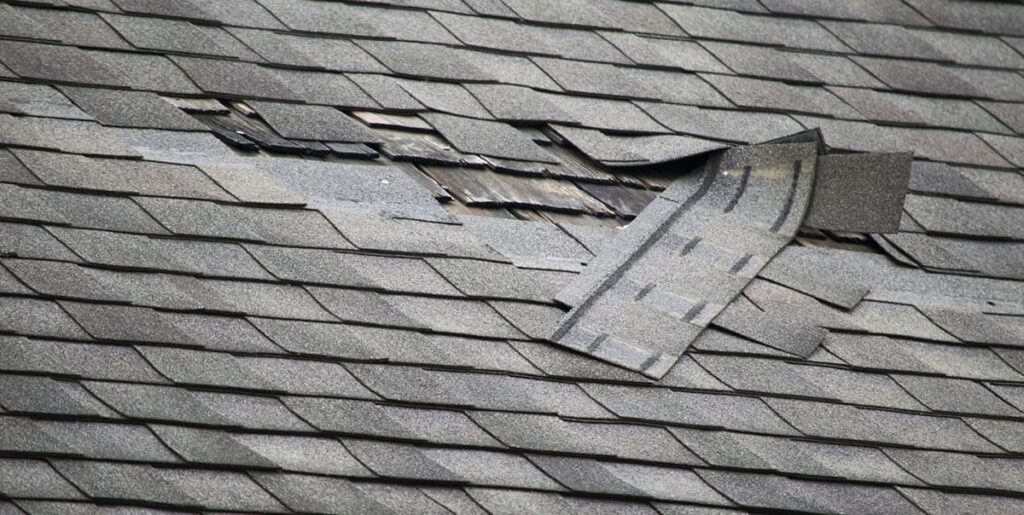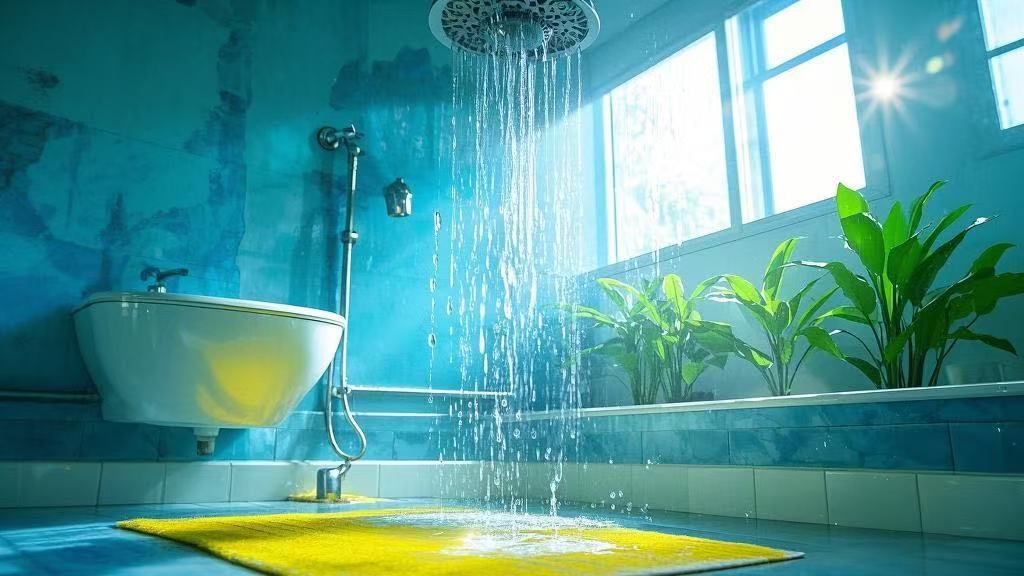
Can you imagine? After carefully renovating your home, the bathroom starts leaking shortly after you move in! Water seepage is not only frustrating but can also lead to moldy walls, complaints from downstairs neighbors, and a whole series of troubles. The key to preventing all of this could be a small test that’s often ignored—the Water Test.
What is a Water Test?
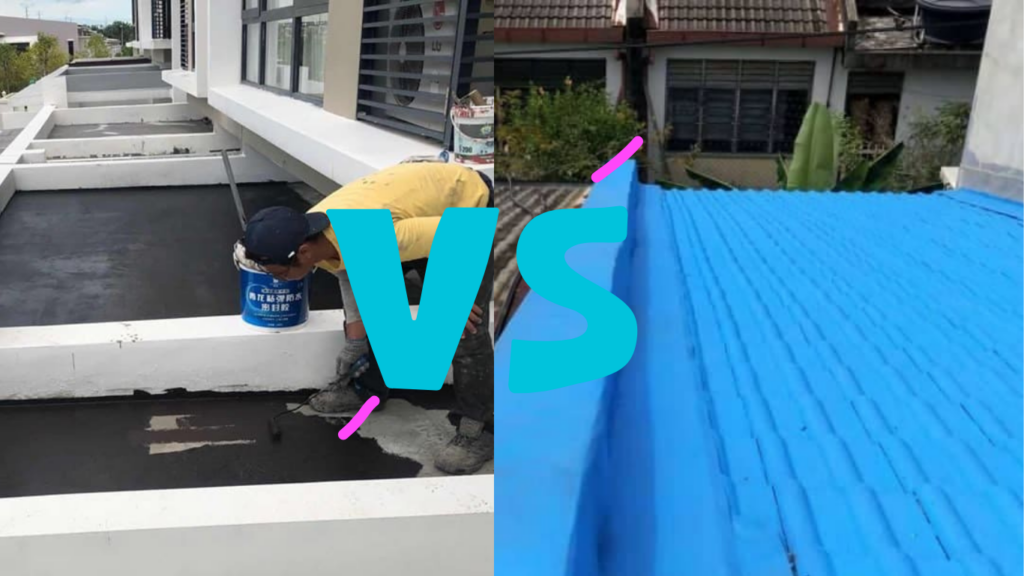
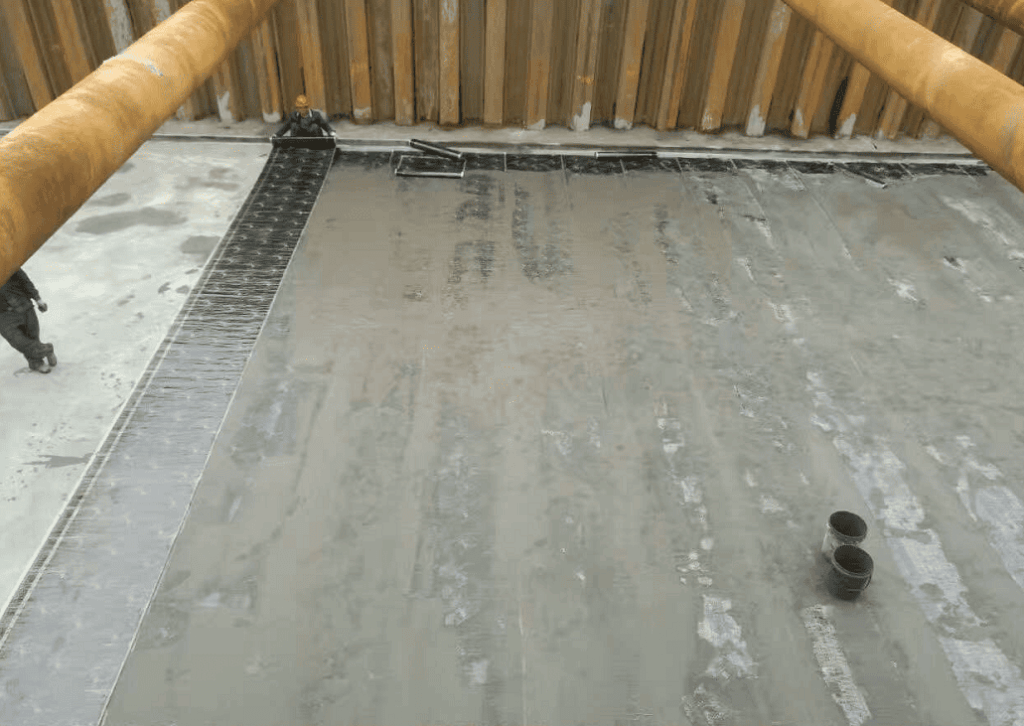
A water test, also known as a flood test, is a crucial step in verifying whether the waterproofing layer is properly applied. It is primarily used in areas such as bathrooms, kitchens, balconies, and rooftops. Despite being a simple operation, it is a critical part of the renovation process. Through a water test, you can assess the effectiveness of the waterproofing, identify any potential leakage issues, and avoid costly and time-consuming repairs later.
Correct Steps for a Water Test
Step 1: Block the Floor Drain
Fill a plastic bag with sand and stuff it into the floor drain to ensure water doesn’t drain away. It’s advisable to push the pointed corner of the sandbag deep into the drain and ensure the surroundings are tightly sealed.
Step 2: Build a Water Barrier
If there’s no threshold at the bathroom door or if the floor is low, construct a water barrier at the entrance. If you use cement for sealing, make sure it has dried completely before proceeding to the next step.
Step 3: Fill With Water
Slowly fill the testing area with water, maintaining a depth of at least 20mm (about 0.8 inches). It’s recommended to keep the water flow low to avoid damaging the waterproof layer.
Step 4: Observe for Leaks
First 4 Hours: Check downstairs every hour to see if any water seeps through.
Following 20 Hours: Check every 2–3 hours to ensure there’s no leakage even after prolonged soaking.
If you find leakage, immediately stop the test, repair the waterproof layer, and repeat the test until there’s no leakage.
Step 5: Drain and Confirm
After 24 hours of observation, if no leakage is found, remove the sandbag, drain the water, allow the area to dry, and proceed with subsequent construction.
Why Must You Conduct a Water Test?
Many people tend to overlook this step during renovations, but if leakage occurs, the cost and effort of repairs far outweigh the investment of conducting a water test. Therefore, always insist on performing a water test during renovations to ensure the waterproofing layer serves its purpose and provides peace of mind for your home life.
Waterproofing your home requires patience—only by being thorough can you truly avoid future troubles! Is your waterproofing project up to standard?