A toilet leak is rarely confirmed by one stain on the ceiling below. In many Kuching homes, the visible damp patch may appear near a light point, wall edge or pipe opening, while the actual water entry point is somewhere else in the bathroom floor, wall-floor junction, floor trap area or pipe penetration. That is why a free inspection for Kuching toilet waterproofing should not become an immediate sales pitch for coating or hacking. It should first establish what evidence is visible, what remains hidden, and what type of repair decision is reasonable.
A Proper Inspection Should Start With the Leak Pattern, Not the Product
The first useful finding from a toilet waterproofing inspection is the leak pattern. The inspector should ask when the dampness appears, how long it takes to show, whether it worsens after shower use, and whether it continues even when the toilet has not been used.
This matters because different patterns suggest different possibilities. If water appears shortly after bathing, the shower area, floor trap, wall-floor junction or tile joints may be involved. If dampness continues even when the toilet is dry, a plumbing supply line, concealed pipe, or seepage from an adjacent wet area may need to be considered.
For Kuching toilet waterproofing, the inspection should identify whether the problem is likely related to surface water from toilet use or a separate plumbing issue. Waterproofing work may not solve a leak caused by a pressurised pipe, a faulty waste pipe connection or water entering from another room.
A useful toilet waterproofing inspection should identify the likely water path before recommending a repair. The inspector should check the bathroom surface, pipe penetrations, floor trap area, wall-floor junctions and the ceiling below. A coating recommendation without this basic leak-path assessment may miss the actual source of seepage.
The Floor Trap and Wall-Floor Junction Deserve More Attention Than the Middle of the Floor
Many owners focus on the centre of the toilet floor because it is the largest visible area. In practice, toilet leaks often involve details rather than the open floor surface.
A good inspection should pay close attention to the floor trap. The joint between the floor trap fitting, surrounding tiles and mortar bed is a common weak point because it receives repeated water flow. If the fall is poor and water sits around the outlet, the detail is under more stress than a dry section of tiled floor.
The wall-floor junction is another important area. Movement, shrinkage cracks, weak grout, failed sealant or poor detailing at this corner can allow water to pass below the tile surface. Once water enters the screed layer, it may travel before becoming visible below.
The inspection should also look at:
pipe penetrations behind the WC, basin or shower mixer area
cracks at internal corners
hollow or loose tiles near wet-use zones
deteriorated grout or sealant joints
water ponding caused by poor floor fall
dampness on the opposite side of toilet walls
These observations do not prove everything by themselves, but they help narrow the repair scope. A toilet floor with sound tiles, localised failed joints and no sign of widespread hollowing may lead to a different repair approach from a toilet where the tiles are loose, the screed is saturated and water has travelled across a larger area.
The Inspection Should Separate Waterproofing Failure From Plumbing Leakage
A free inspection is less useful if every damp mark is automatically treated as waterproofing failure. In toilets, plumbing and waterproofing problems can look similar from below.
A waterproofing-related leak usually depends on water exposure from use. For example, seepage may appear after showering, washing the floor or repeated wetting near the floor trap. A plumbing leak may continue even when the bathroom has not been used because the pipe remains pressurised or the waste connection is defective.
The inspector should check whether the moisture pattern matches bathroom activity. If possible, simple controlled observation can help: keeping the toilet dry for a period, then wetting specific zones separately, may indicate which area is more suspicious. This is not the same as a full laboratory test, but it is more informative than looking at one ceiling stain and making a quick conclusion.
For concealed pipes, the inspector should be careful with certainty. Without opening finishes, pressure testing or plumber verification, some hidden pipe conditions cannot be confirmed visually. A professional inspection should explain what can be reasonably observed and what requires further testing.
This distinction protects the owner from paying for the wrong repair. Recoating the toilet floor will not stop a leak from a concealed supply pipe. Hacking the whole bathroom may also be unnecessary if the issue is a localised pipe penetration or waste outlet detail.
Existing Tiles Decide Whether Surface Repair Is Realistic
One of the most important findings in a toilet waterproofing inspection is the condition of the existing tiles and substrate. Many owners prefer to avoid hacking because it is noisy, dusty and disruptive. That preference is understandable, especially in occupied homes or rental units. However, whether tiles can be retained depends on their condition.
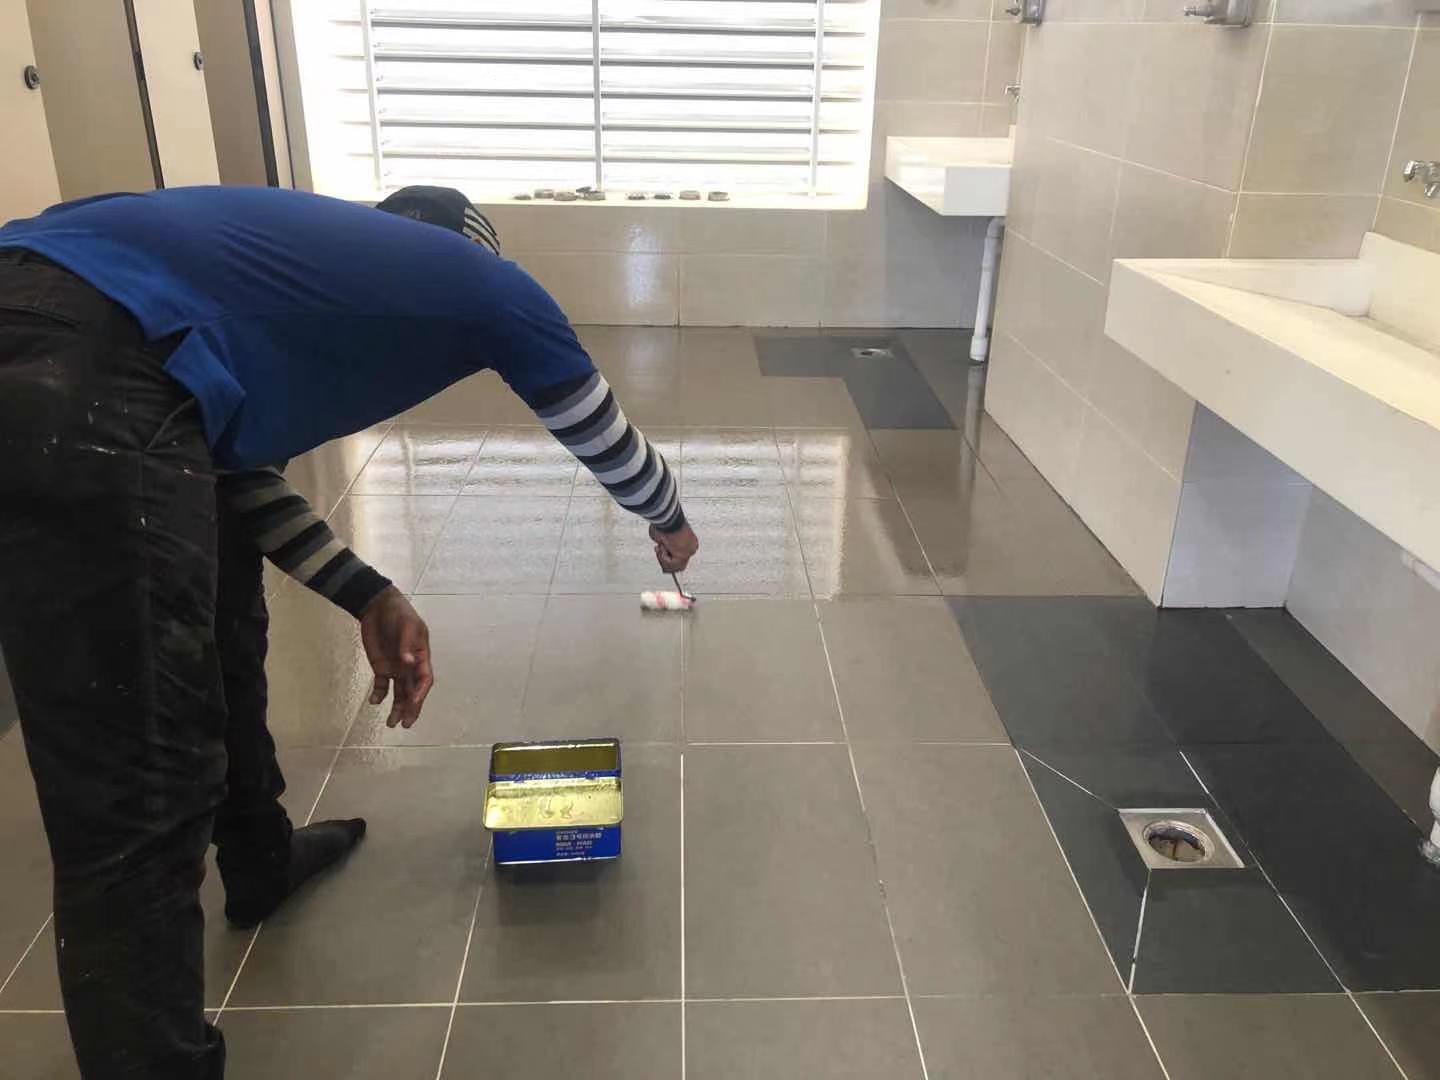
If the tiles are firmly bonded, the floor fall is acceptable, the surface is clean, and the suspected leakage is related to accessible joints or details, a less invasive repair may be considered. Depending on the site condition, this may involve treating joints, sealing penetrations or applying a suitable waterproofing product over compatible surfaces.
If many tiles sound hollow, the floor is uneven, water is trapped under the tile layer, or the screed has deteriorated, applying a surface product over the existing finish becomes much more uncertain. The coating may be sitting on a weak finish rather than a reliable waterproofing base.
Keeping existing toilet tiles is only reasonable when the tiles, grout lines, falls and substrate condition can support the repair method. If hollow tiles, trapped moisture or weak screed are present, surface waterproofing may hide the problem temporarily instead of correcting the failed waterproofing layer beneath.
This is where the inspection should be honest. A free inspection should not simply say “can repair without hacking” because that is what the owner hopes to hear. It should explain what makes a no-hacking approach suitable or risky.
What the Ceiling Below Can and Cannot Confirm
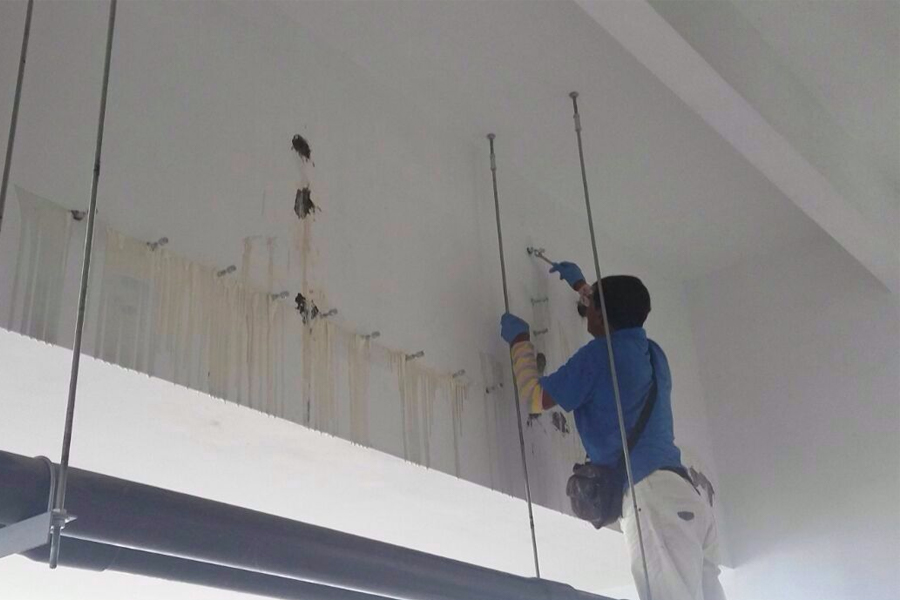
For upstairs toilets, the ceiling below often provides the first complaint. Stains, bubbling paint, mould marks or dripping may show that water has reached the lower level. However, the ceiling does not always identify the entry point.
Water can move along the slab surface, through cracks, around pipe sleeves, along beam edges or within the screed layer before it appears below. A stain below the shower area may still be related to the floor trap, wall junction or a pipe penetration nearby. A stain near a light fitting may simply mean water found the easiest exit point.
The inspection should examine the ceiling below together with the bathroom above. If there are pipe openings, service penetrations or previous patch repairs in the ceiling, these should be noted. The inspector should also check whether the dampness is active, old or intermittent. Old staining without current moisture may not require the same response as fresh dripping after every shower.
This is especially important before approving hacking work. If the ceiling evidence and bathroom evidence do not match, further investigation may be needed before deciding the repair scope.
 A Free Inspection Should End With a Clear Repair Logic, Not Just a Quotation
The outcome of the inspection should be a practical explanation. The owner should understand what was observed, what is suspected, what cannot be confirmed visually, and what repair method matches the evidence.
A useful inspection report or discussion should cover four points:
the suspected source or water path
the condition of tiles, joints, floor trap and wall-floor junctions
whether plumbing leakage needs to be ruled out
whether the repair can be localised, done over existing finishes, or requires removal
This does not mean every inspection must produce a complicated document. But the reasoning should be clear enough for the owner to compare options. For example, “apply waterproofing coating” is not a complete recommendation unless it also explains the surface preparation, compatible substrate, treatment of corners and penetrations, curing requirements and limitations.
For QingLong Waterproofing products or systems, the same principle applies: the product should fit the toilet condition, not the other way around. A cement-based waterproofing slurry, sealant detail, tape reinforcement or surface coating each has different application logic. Suitability should be checked against the substrate, exposure, existing finish and current product specification.
The Main Question to Ask After the Inspection
After any free inspection for Kuching toilet waterproofing, the key question is not only “How much is the repair?” A better question is: “What evidence shows that this repair method addresses the actual leakage path?”
If the answer is clear, the owner can make a more confident decision. If the answer is vague, the repair may be based on assumption rather than diagnosis. Toilet waterproofing works best when the inspection connects the symptom, the wet-area details, the substrate condition and the proposed repair scope.
If you need help reviewing a toilet leak, existing tile condition or suitable waterproofing approach, you can contact QingLong Waterproofing for site-specific advice.